
Medieval Garden Pillbox
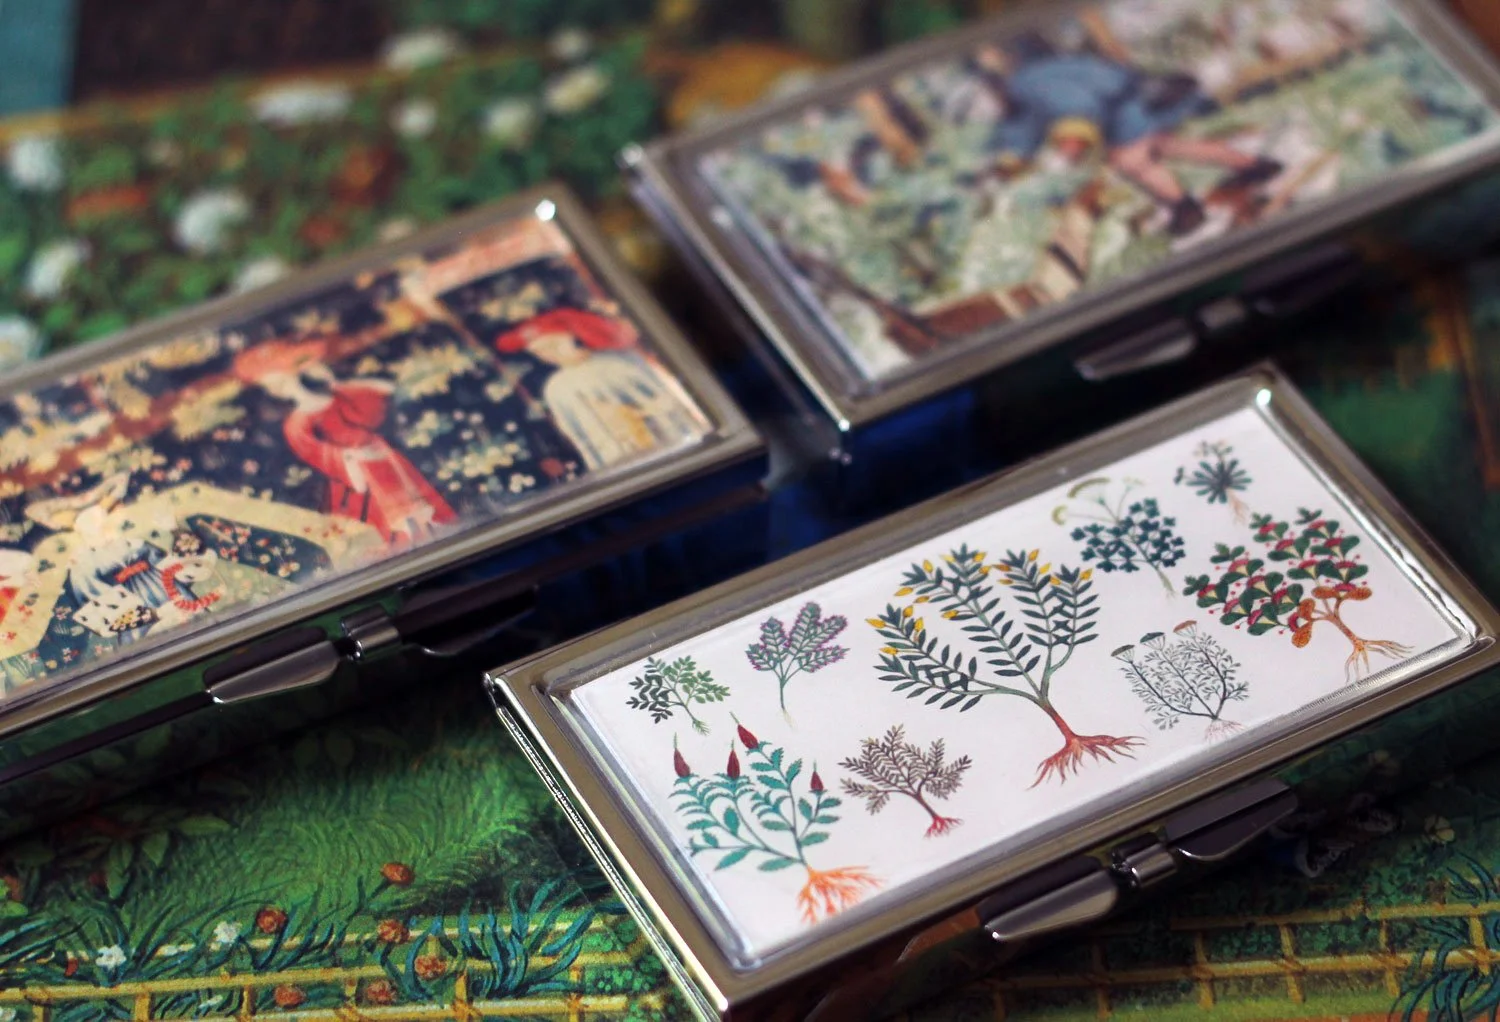
Metal pillboxes with your own decoration.
DIY Pillbox Project
A very easy craft project that makes a nice little gift or personal pill box. You need a limited number of supplies and time for this - making it a great 1-2 hour project.
The time will mostly be spent deciding on the image you want for your decoration, or designing it.
Supplies need for DIY Medieval Pillbox…
The actual pillbox
A design cut down to the size of your decoration space (plus printer, if printing, ink, scissors etc)
Possibly, some sort of adhesive, more about this in a minute
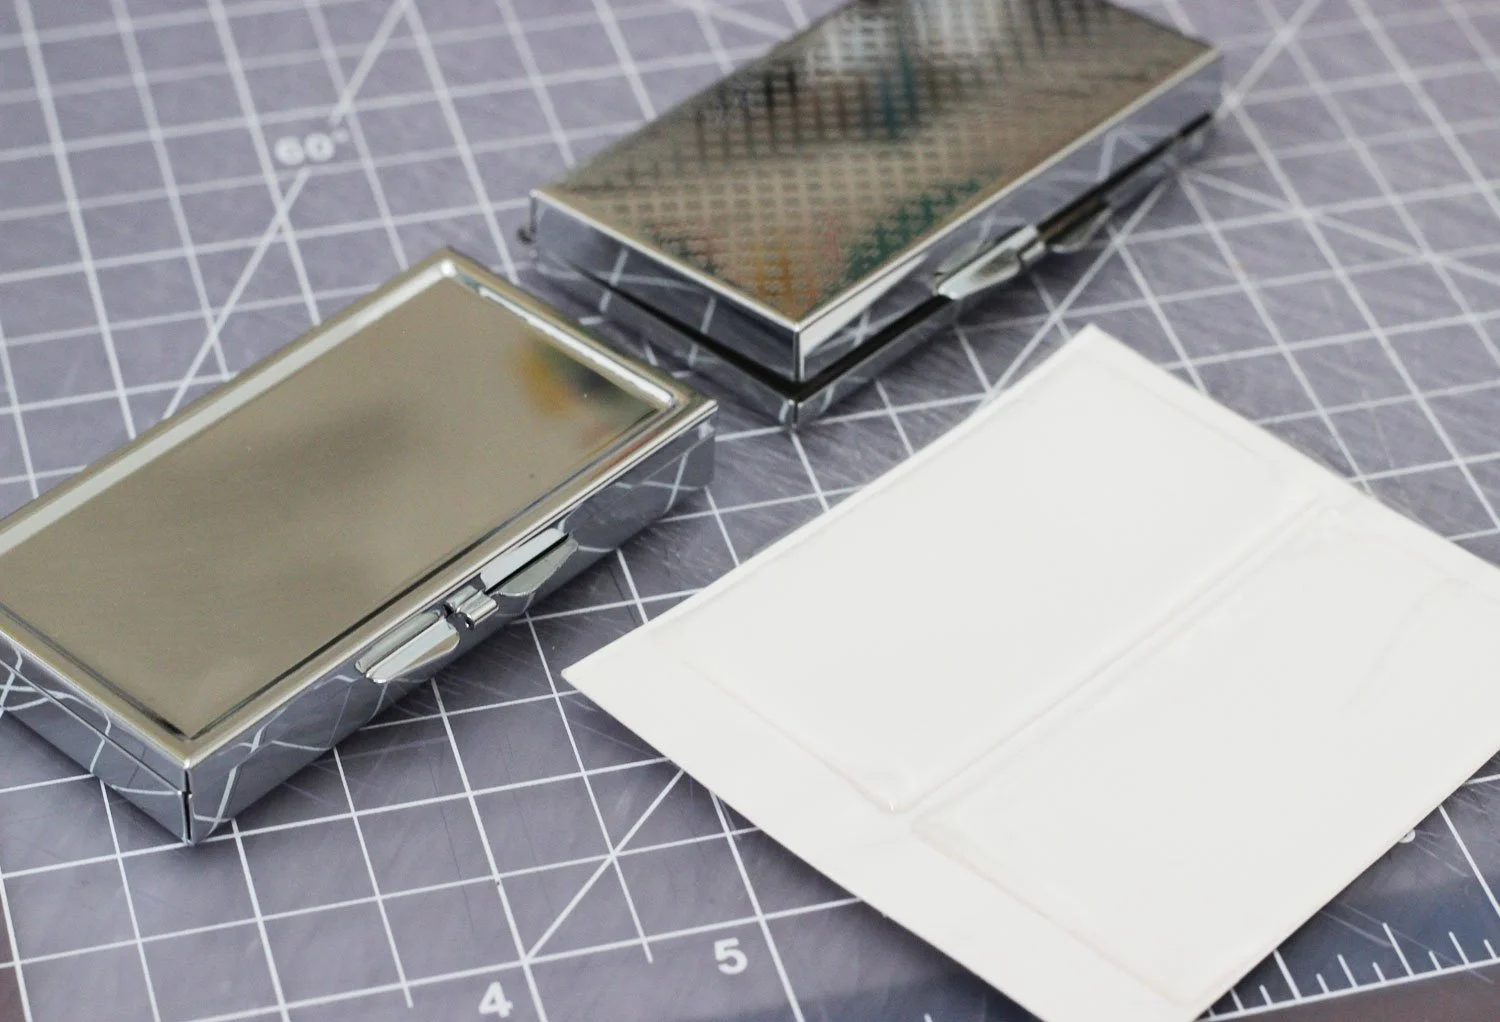
Blank pillboxes, top of box with inset (l) bottom of box (r) and clear epoxy stickers.
The Pillbox…
The pillboxes I used were originally bought on Alibaba, the Chinese Amazon-like site. When searching for them here in the States, I couldn’t find them as a set, but you can buy them separately. I’ll put the link to the Alibaba site below, and a link to the epoxy stickers on Amazon.
The epoxy stickers are dimensional, so it gives the box some extra weight and feels a little more luxurious.
That said, you could also buy a metal tin pillbox and just use a glue to adhere your design. It won’t have the protective resin though.
However, this post is for the epoxy sticker version and I highly recommend them because it gives the box a very finished look.
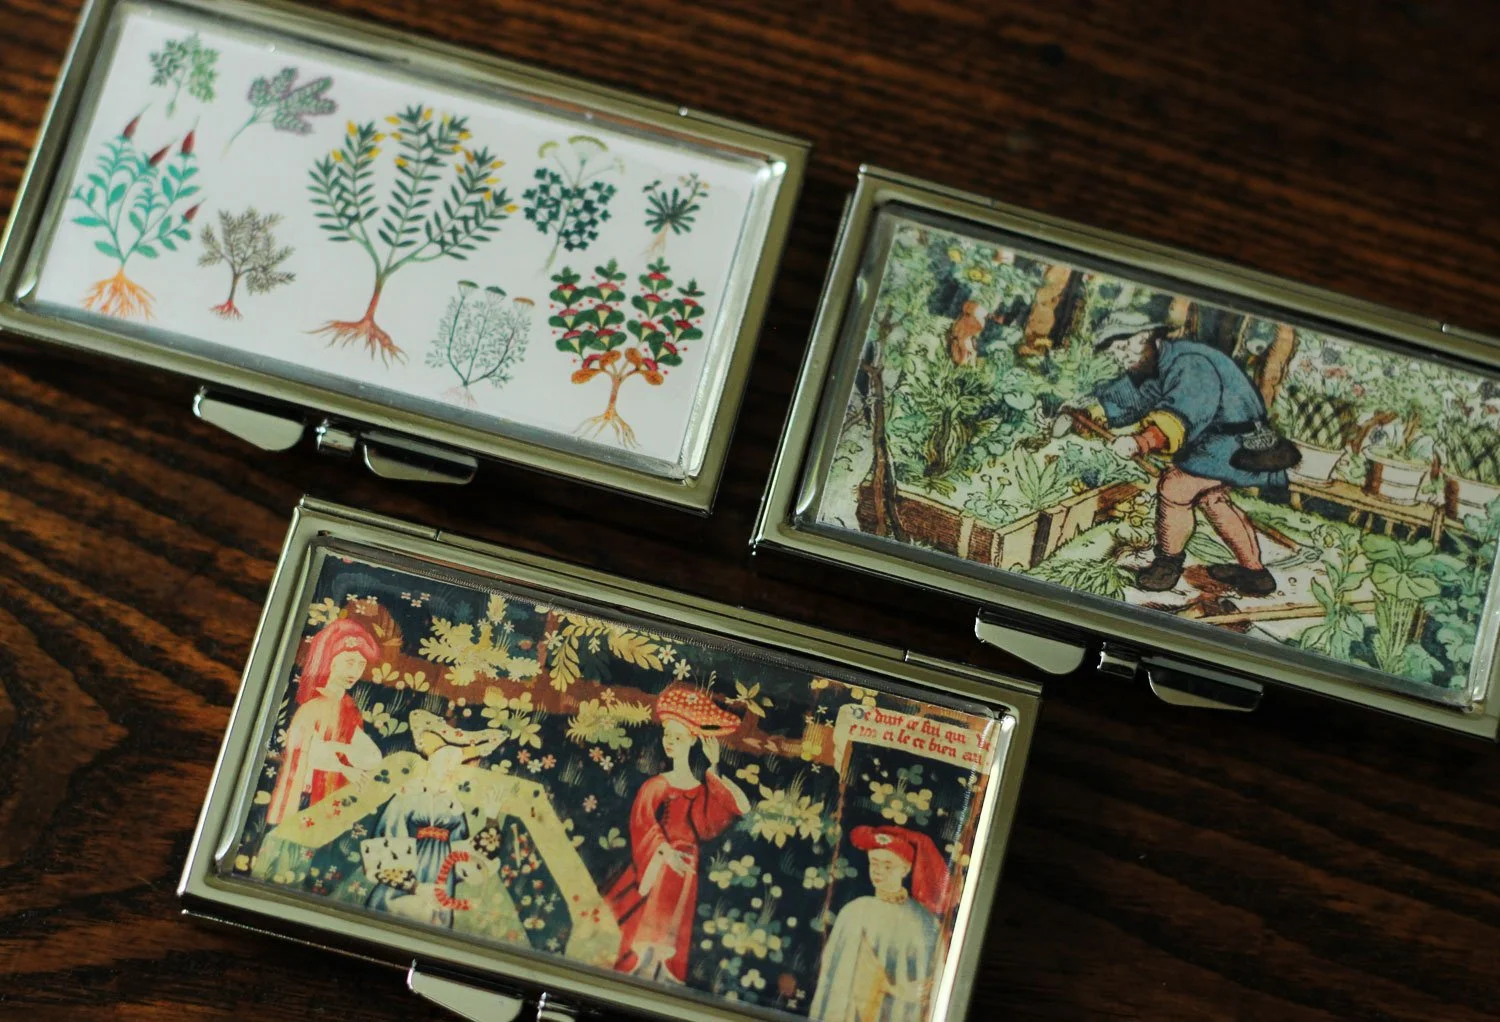
The set of 3 medieval pillboxes I made with a gardening theme.
Your Design…
I like the idea of giving these as party gifts. You can design them around a theme, like I did, with a Medieval garden - plants, potting shed, verdant scenery or you can do them all the same.
I think the images look best if they are richly colored with much of the white space taken up.
If you’re on this site, you’re interested in the Medieval and Renaissance eras, so find images online (that are public domain) by going to museums that have Open Access or sites like Pixabay, Pexels etc. and do a search for what you are interested in.
These could also be personalized with a name or a special occasion - anniversary, wedding, birthday.
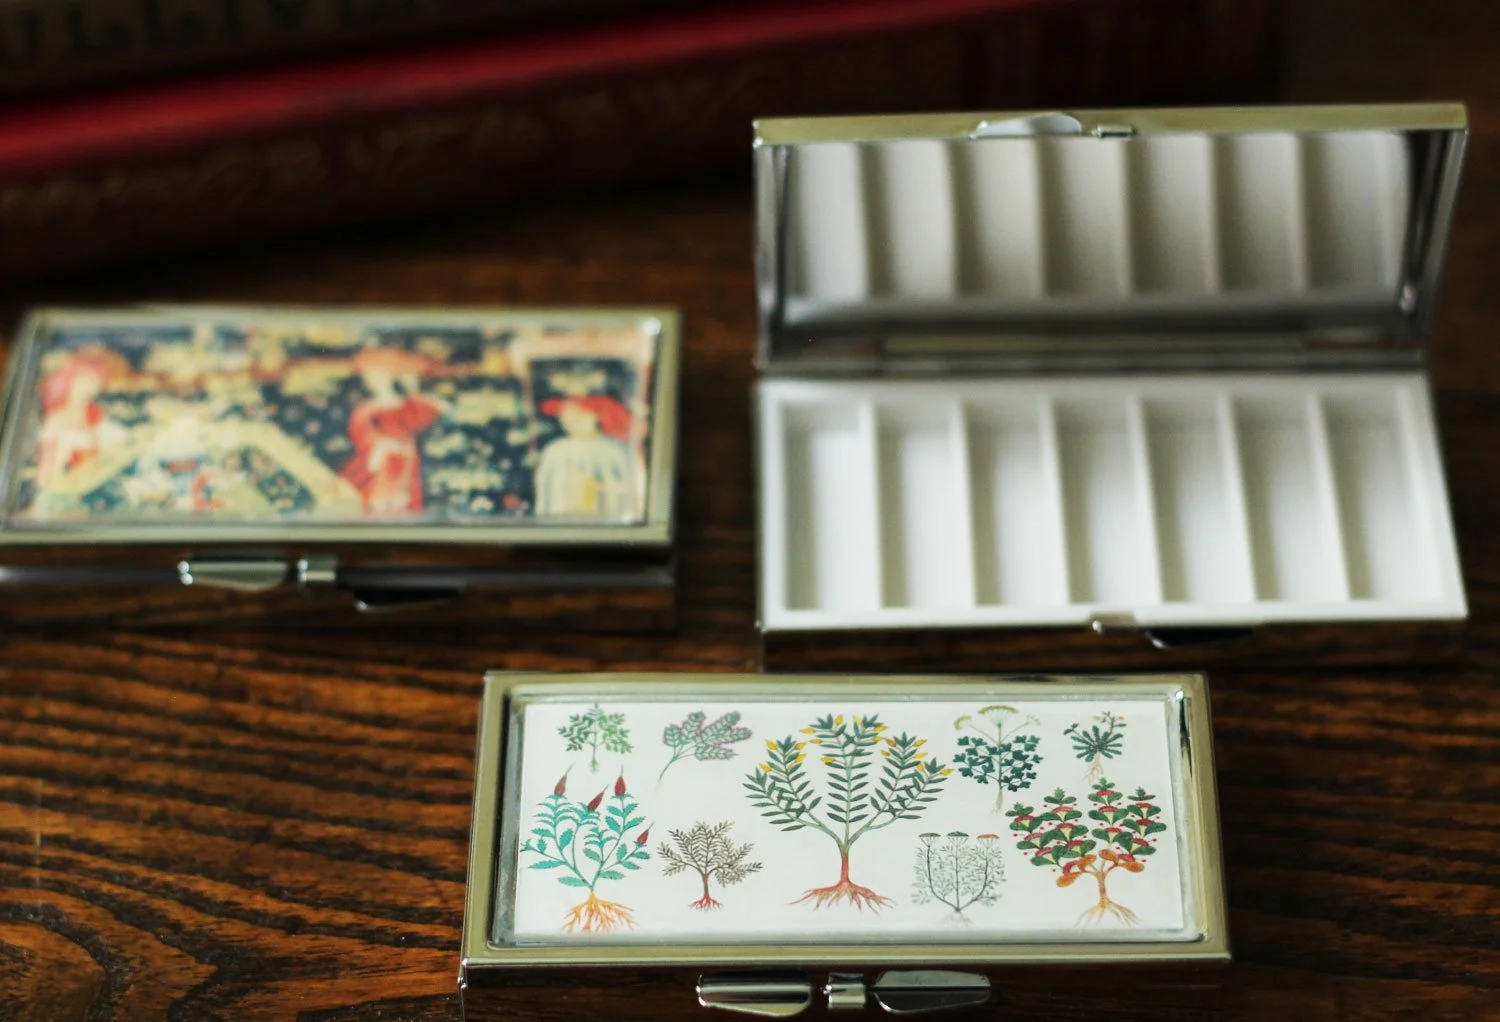
A compartment for 7 days’ worth of pills…
Not just for pills…
I want to add that these don’t have to be used for pills. These little boxes would make perfect pans for handcrafted paints, especially for travel due to the small size.
You can also remove the interior compartment and it could be used as a general box for anything that would fit- stamps, matches, mints (you might leave the compartment in for these) etc.
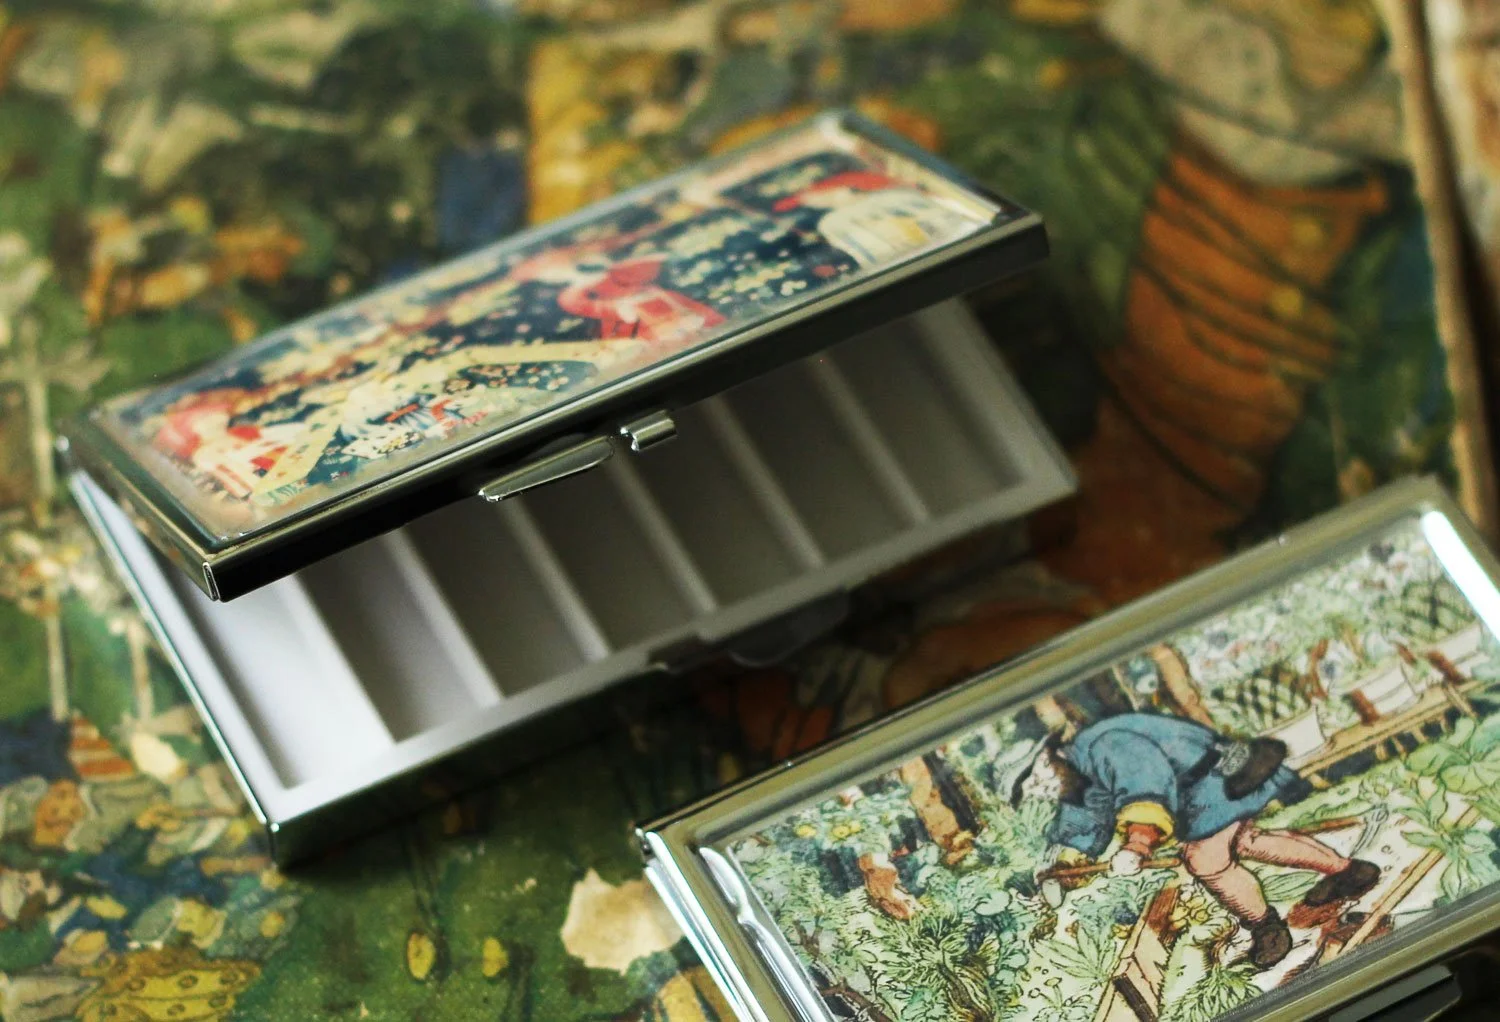
Made in less than an hour!
Easy, Peasy, Pillbox!
The steps are easy, you will simply measure the portion of the top where your design will rest, design your image, cut out and adhere to top of tin, then finish with the clear, epoxy sticker.
This particular box has an inset, your box may not.
NOTE: I printed my image on glossy, sticker paper so that I could just peel and stick it on vs using glue to adhere. If you use regular paper, you’ll need to make sure it’s firmly stuck. Also, leave a little room around your image so that the dimensional sticker isn’t relying just on your design underneath to hold it on. In other words, make sure the clear, epoxy sticker is also touching part of the actual tin around your image.
And…
That’s it, you’re done.
Resource Links
For the boxes I used, click HERE…
Epoxy stickers on Amazon HERE… (this is a link to a general search, there are different sizes available and you would need to find a tin that would work with the dimension you choose).
Metal pillboxes on Amazon HERE… (General link, you can also just search for metal tins vs a pillbox. There are round options available as well).