
DIY Heraldic Shield Coasters
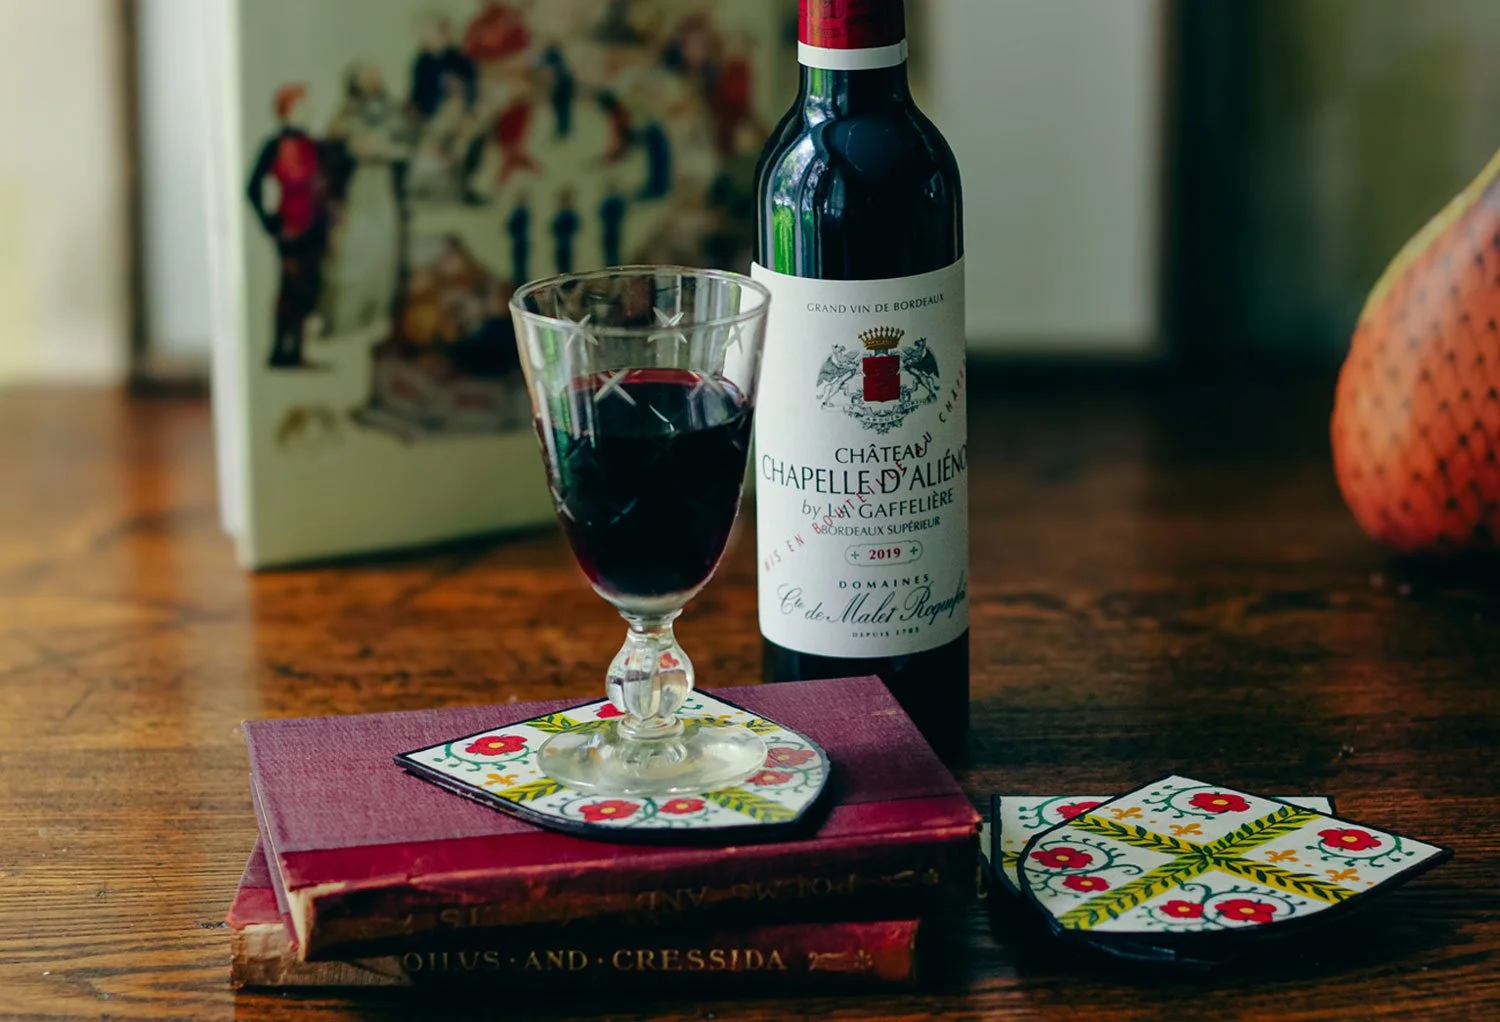
Handmade shield coasters
Making coasters is quite easy and requires just a few supplies. Of course, you can buy pre-cut coasters made from cork or heavy board but usually just in square or circle shapes. I wanted a custom shield shape and so I went the complete DIY route.
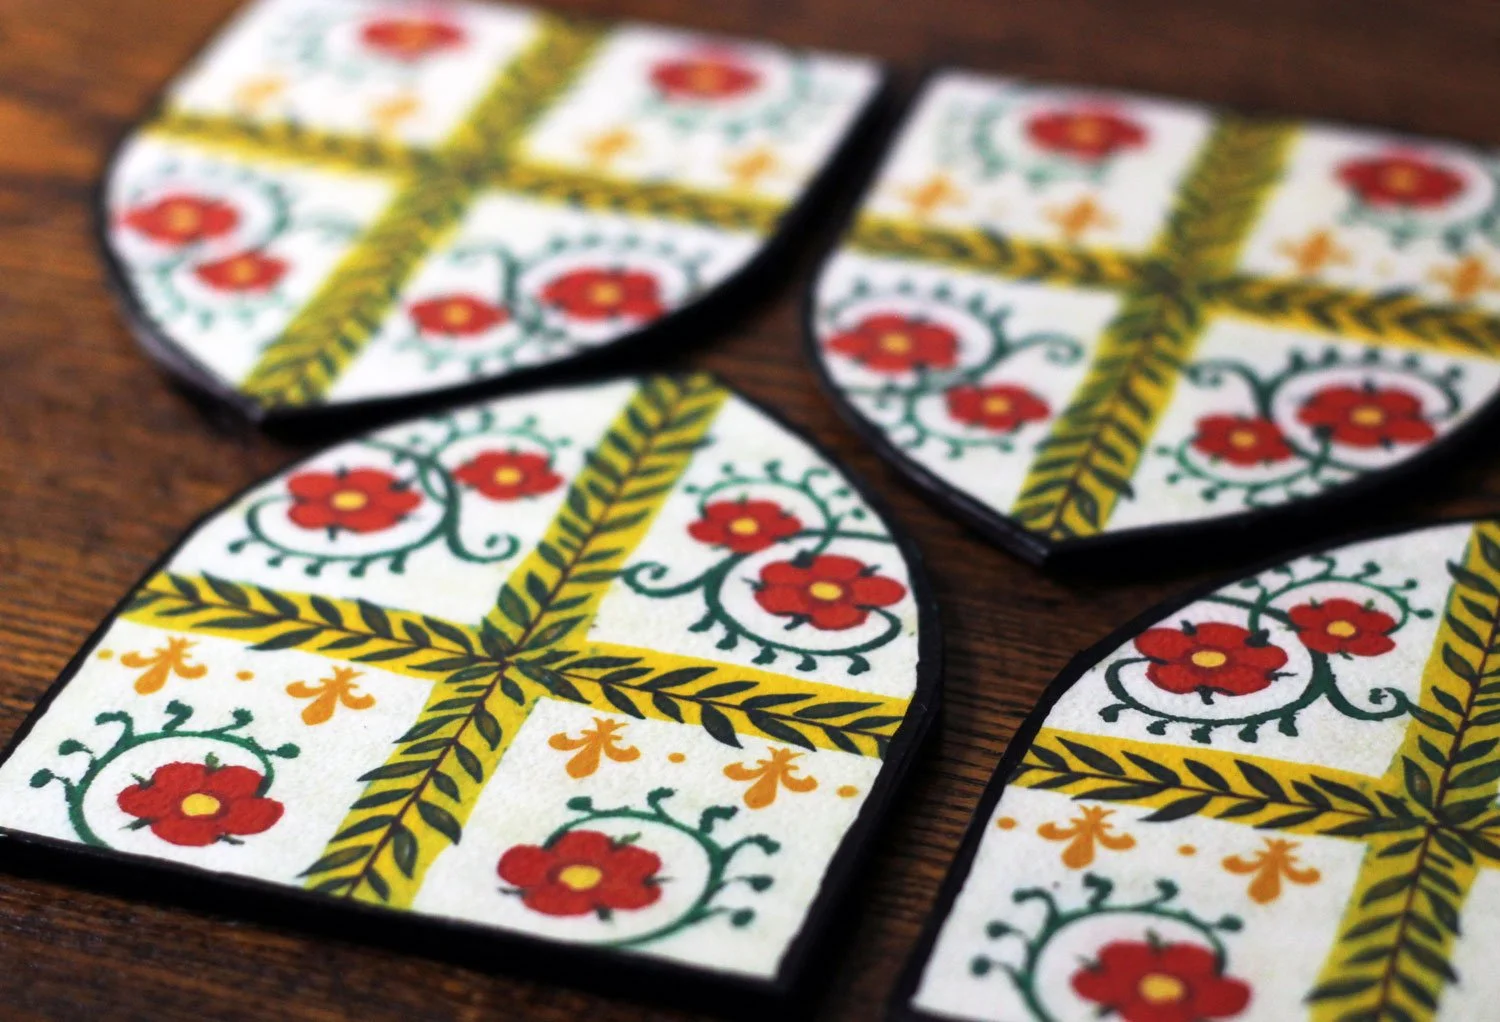
My set of 4 coasters, designed, cut and sealed and corked.
Supplies Needed:
Heavy board (like chipboard, but I used a board that was black)
Your digital design printed out on paper that will withstand a liquid sealant like Mod-Podge, so slightly heavy or in my case, I used light-weight cardstock. You can use an easy shield shape like mine, or come up with your own. I’m including a downloadable image at the end of this post with a shield shape you can use for a templates.
A cutting knife, like an X-Acto blade.
Waterproof, clear, matte sealant.
I used Mod-Podge Hard Coat and I haven’t had any problems but there is a Mod-Podge Exterior which is advertised as waterproof.A strong adhesive to glue your paper design onto the board. I used spray adhesive for even coating.
Optional:
-Paint to touch up the edges. I used black paint all around the front edges just to clean it up a bit.
-Adhesive backed cork squares give a finishing touch and make your coasters more durable.
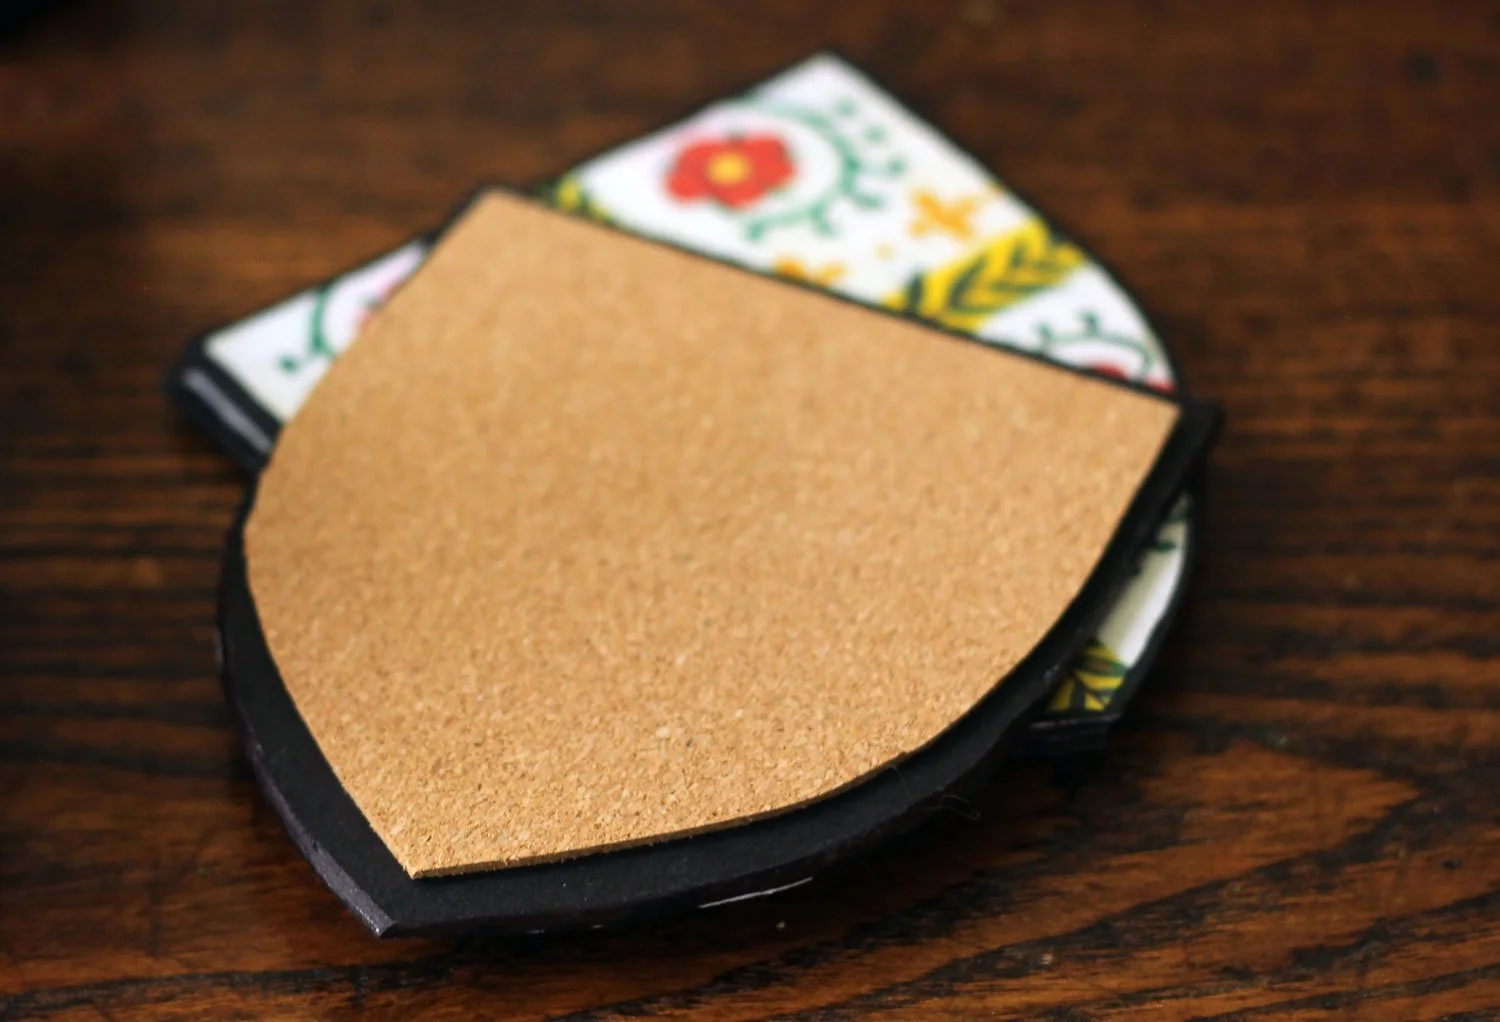
Cork backing cut just inside the edge.
Steps to Create DIY Coasters:
Draw out your design. I would go with something that is around 4×4 to accommodate most glasses. My shield shape is about 4” tall and then a little slimmer at the bottom where it curves in.
Print out your design on a light cardstock (you may want to test your design by doing a layer of the sealant on it, just to make sure it isn’t going to bleed and/or that the paper isn’t too light and crinkles when damp).
Glue your designs on to the heavy board. I like to do a rough cut around the edges of the light paper coasters, then glue them onto a square of the heavy board and then carefully cut out the complete designs.
NOTE: This is where your utility or X-Acto knife comes in handy, you’ll need something heavier-duty than scissors.You should now have your basic coasters ready to go.
Using your waterproof sealer, gently brush one coating on. Brush lightly at first so your design doesn’t bleed.
Let completely dry, and then repeat 2 more times or as many as you want. I sealed the edges as well.
When coasters are sealed, take your cork backing, if using, and place your finished coasters on top and draw an outline around them.
Cut out your cork, but cut inside your guide line by about 1/8 to ¼ of an inch, so the cork doesn’t come right to the edge. This way you won’t have any less-than-perfectly cut cork edges peeking out.
Remove backing from cork and stick onto coasters.
You’re done!
Shield Tempate and Resources:
This is a template shape for the shield that I used. You can use your imagine and come up with your own too. Just remember - you have to be able to cut it out:)
Template - Click HERE to download.